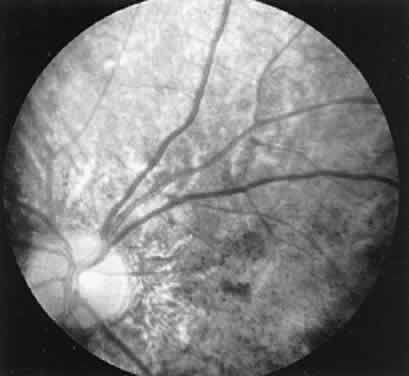
Fig. 9.
Case 2. See text for details.